Manual Lever Pipe Bender: Steel & Copper Tubing Guide
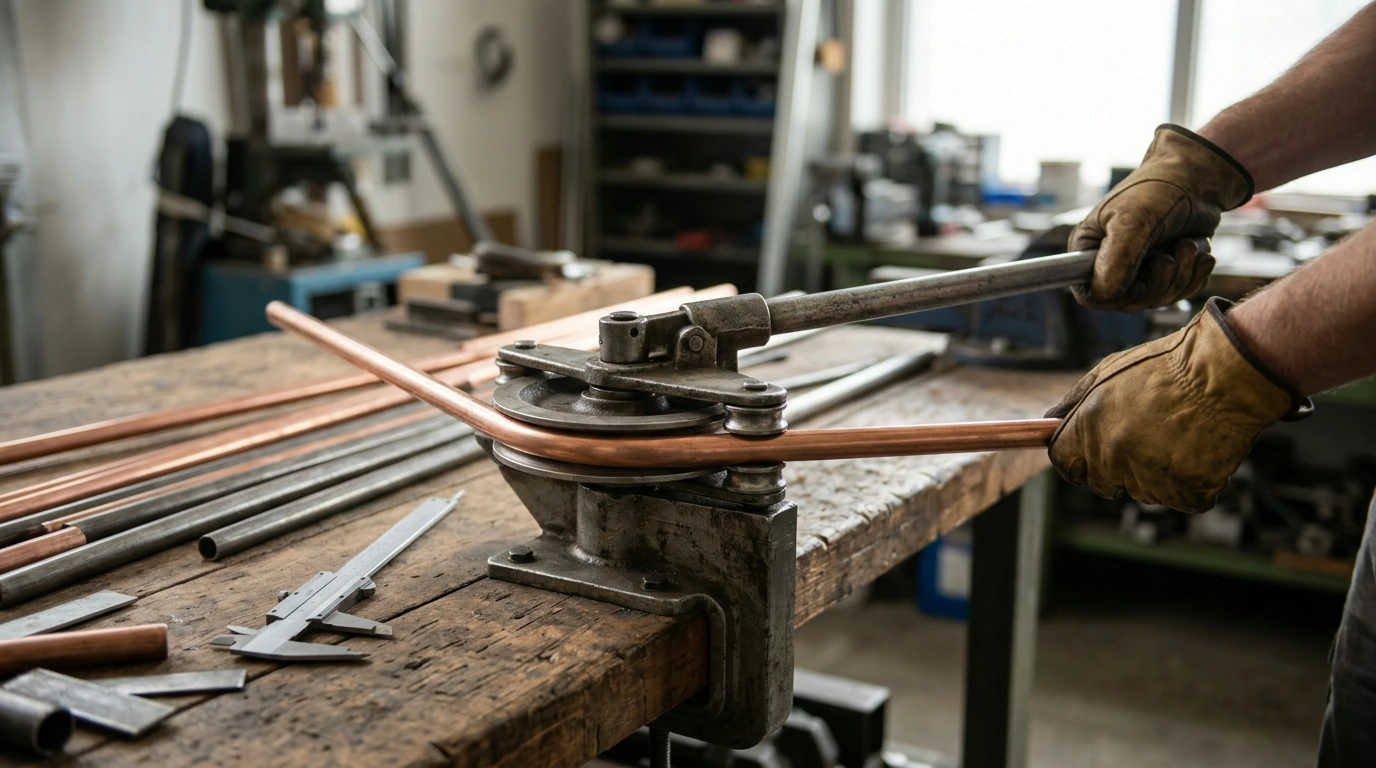
A lever-type bender can help you form repeatable tubing bends without a powered machine. The handle matters, but the tubing comes first: its outside diameter, material, wall thickness, and condition all affect whether a bend can be made cleanly. Before you choose a tool or cut stock, work through the fit and layout decisions that will determine the finished shape.
Start with the tubing you need to bend
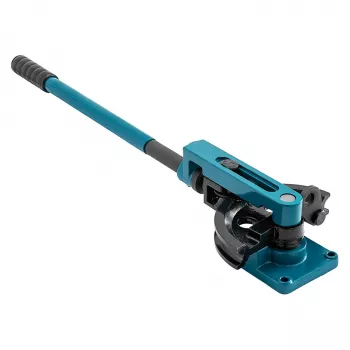
Our Manual Pipe Bender Lever-Type for 3/8″–1″ Steel & Copper Tubing is listed for steel and copper tubing in a 3/8″–1″ size range. Measure your tubing’s outside diameter and confirm that the appropriate size-matched bending components are available before you begin. Do not rely on a nominal pipe or tube name alone to establish fit.
Diameter is only one part of compatibility. Different steel and copper tubes can vary in wall thickness and temper, which can change the force needed and the risk of distortion. Compare your specific tubing with the bender’s instructions and your project requirements. We also recommend examining the section you plan to bend: dents, corrosion, or an out-of-round end can keep tubing from seating properly and lead to an uneven result.
| Check | What to confirm | Why it matters |
|---|---|---|
| Outside diameter | The measured size falls within the listed 3/8″–1″ range. | The tubing must fit the appropriate bending setup. |
| Material | Your specific steel or copper tubing is suitable under the tool instructions. | Tubing types can require different forces and handling. |
| Bending support | You have the correct size-matched components. | Proper support helps the tube follow the intended curve. |
| Project clearance | The planned bend fits the installation space. | A sound bend still needs room to be installed. |
Lay out the bend before applying force
Mark the bend location and the direction it needs to turn. For a piece with multiple bends, mark every location and orientation before forming the first one. It is easy to create a clean second bend that points the wrong way, so compare your marks with the intended installation position before each pull.
Plan the cut length around the tool’s bend geometry rather than treating a bend as a sharp corner. If end-to-end dimensions are critical, make a trial bend using spare tubing of the same size and type. Measure that piece, then adjust your layout before cutting the project stock to its final length. This extra step can be especially useful when several bends must line up with fixed connection points.
Leave enough straight tubing at each end for the connections your project requires. Fittings may need a specified insertion length or an undisturbed straight section; follow their instructions instead of assuming a bend can begin immediately beside a joint. Account for access as well as dimensions—you may need room to position and secure the connection after the bent tube is in place.
Use controlled lever pressure
Set up the bender according to its instructions, including how to position the tubing and fit the size-matched components. Make sure the tube is seated before applying force, and keep your hands away from moving parts and pinch points. A stable work area gives you a better chance to guide the bend without fighting the tool or losing track of your layout marks.
Pull the lever with steady, controlled pressure rather than a sudden jerk. For a series of bends, pause between pulls to verify alignment and direction. Do not try to correct a questionable bend by repeatedly working the same spot without confirming that the tubing and tool permit it; that can further distort the tube.
Afterward, look along the curve and check for flattening, kinks, cracks, or other visible damage. A bend that reaches the desired angle is not automatically suitable for installation. Do not use a visibly damaged tube in a pressure-bearing system. OSHA’s hand and power tools guidance offers broader guidance on tool condition and safe handling, while the Copper Development Association’s Copper Tube Handbook is a useful reference when your project involves copper tube.
Decide whether this bender fits the job
A manual lever-type tool is a practical choice when your tubing and required bends fall within its stated specifications and you do not need a powered setup. Before ordering, identify every tubing outside diameter you will use and confirm the bending components needed for each one. Then compare any required bend radius, angle, and installation clearance with your project plan. A tool that accepts the tube’s diameter may still be the wrong choice for a bend that must meet a particular geometry.
You can view the Manual Pipe Bender Lever-Type for 3/8″–1″ Steel & Copper Tubing for current price and availability. If you also need a convenient way to check a mark in a dim workspace, our LED Flashlight Smart Watch has a built-in flashlight; use proper work lighting when visibility matters for safe tool operation. For plumbing, mechanical, or other code-governed work, confirm that the finished bend meets the applicable requirements before installation.
FAQ
Can the same manual bender be used for steel and copper tubing?
This bender is listed for both materials, but you should confirm your specific tubing size, type, and wall thickness against the tool instructions before bending.
How do I avoid kinking a tube while bending it?
Use correctly sized bending components, seat the tube as instructed, and apply smooth pressure. Inspect the result, and make a test bend when working with unfamiliar tubing.
Should I cut tubing to final length before bending?
For dimension-critical work, account for bend geometry and connection allowances first. A trial bend can help you establish the cut length before you cut the project stock.













Leave a comment